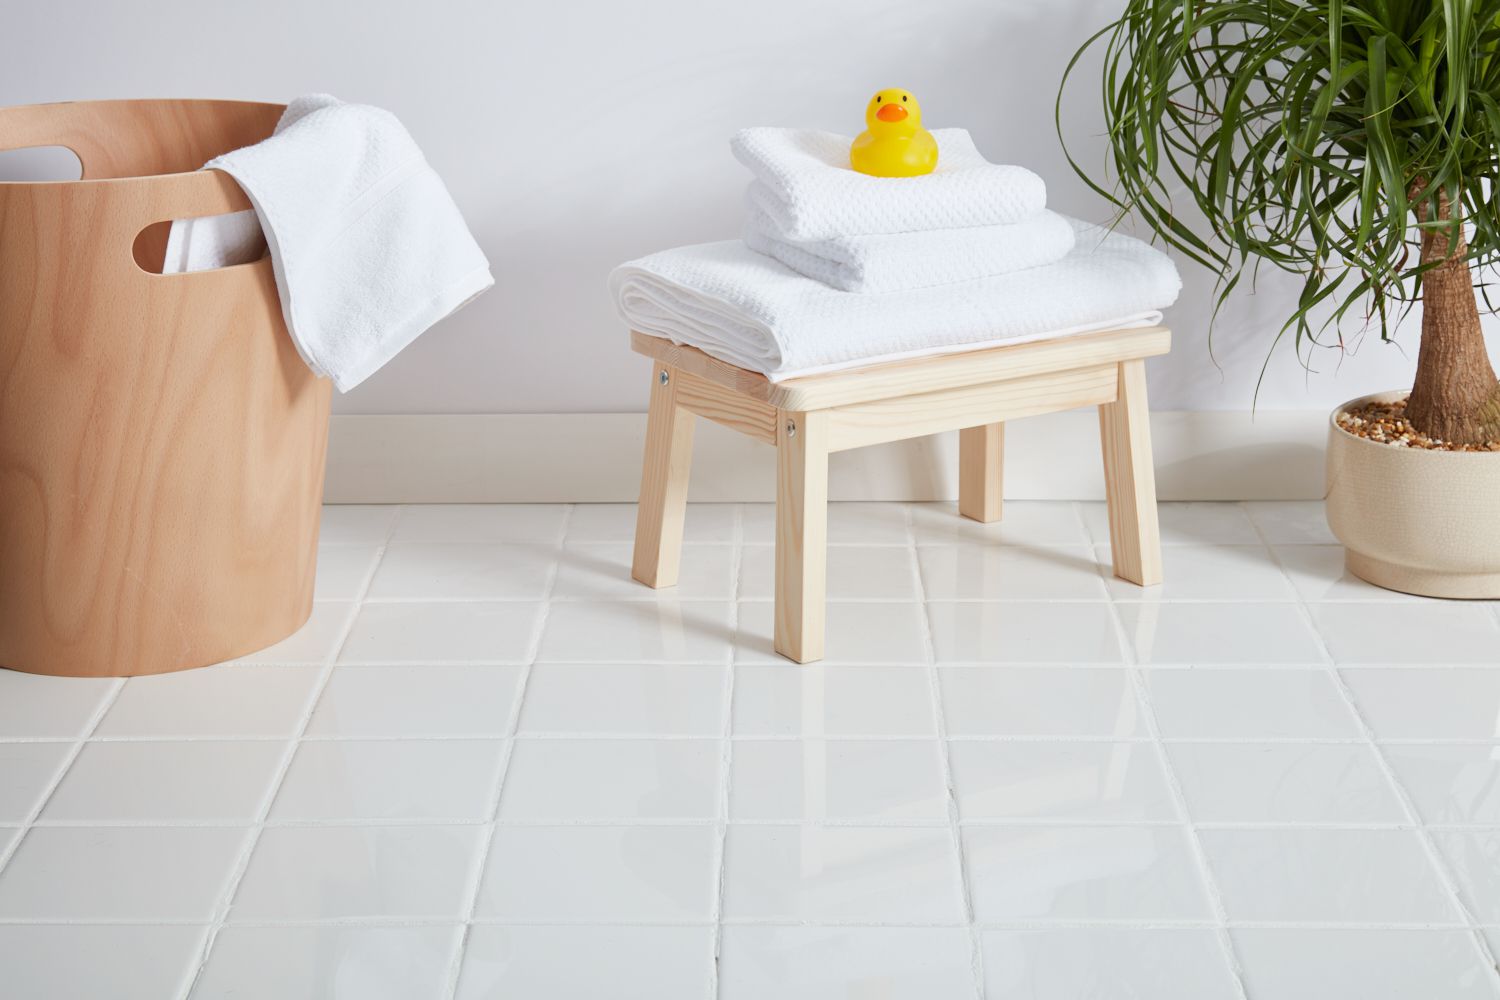
Tiles have long been a popular choice for flooring due to their durability, versatility, and aesthetic appeal. Whether you’re renovating your kitchen, bathroom, or living room, tile flooring offers endless design possibilities to transform your home. In this comprehensive guide, brought to you by Rubber Floor Mat, we’ll explore design tips and installation techniques to help you make the most of your tile flooring project.
Design Tips for Tile Flooring
1. Consider Your Lifestyle
Before selecting tile flooring, consider your lifestyle and the specific needs of each room. For high-traffic areas such as entryways and kitchens, opt for durable and easy-to-clean tiles like porcelain or ceramic. In areas prone to moisture, such as bathrooms and laundry rooms, choose non-porous tiles with a low water absorption rate to prevent water damage and mould growth.
2. Choose the Right Tile Size and Shape
The size and shape of tiles can significantly impact the overall look and feel of a space. Larger tiles can make a room appear more spacious and modern, while smaller tiles can add visual interest and texture. Experiment with different sizes and shapes, such as rectangular subway tiles or hexagonal mosaic tiles, to achieve your desired aesthetic.
3. Play with Patterns and Layouts
Get creative with tile patterns and layouts to add personality and character to your floors. Consider classic patterns like herringbone or basketweave for a timeless look, or opt for contemporary designs like chevron or arabesque for a modern twist. Mix and match different tile colours, textures, and finishes to create custom patterns that reflect your style.
4. Incorporate Accent Tiles
Add visual interest to your tile flooring by incorporating accent tiles or borders. Choose tiles in a contrasting colour or pattern to create focal points or define separate areas within a room. Accent tiles can be used to highlight architectural features, such as fireplace surrounds or kitchen backsplashes, or to create eye-catching transitions between different flooring materials.
Installation Techniques for Tile Flooring
1. Prepare the Subfloor
Proper preparation of the subfloor is essential for a successful tile installation. Ensure that the subfloor is clean, flat, and free of any debris or imperfections. Use a self-leveling compound to correct any uneven areas and allow it to dry completely before laying the tiles.
2. Use the Right Adhesive
Selecting the appropriate adhesive is crucial for ensuring that your tiles adhere properly to the subfloor. Consult with your tile supplier or manufacturer to determine the best adhesive for your specific tile material and substrate. Apply the adhesive evenly using a notched trowel, and be sure to work in small sections to prevent it from drying out prematurely.
3. Plan the Layout
Before laying the tiles, carefully plan the layout to ensure that you achieve the desired pattern and alignment. Use chalk lines or tile spacers to create reference lines and maintain consistent spacing between tiles. Dry-lay the tiles without adhesive first to experiment with different layouts and make any necessary adjustments.
4. Grout and Seal
Once the tiles are installed, allow them to set for the recommended curing time before grouting. Mix the grout according to the manufacturer’s instructions and apply it evenly between the tiles using a grout float. After the grout has cured, seal the tiles and grout with a quality sealer to protect them from stains, moisture, and wear.
Conclusion
Tile flooring offers endless possibilities for transforming your home with style and sophistication. By incorporating design tips and installation techniques from Rubber Floor Mat, you can create beautiful and durable floors that enhance the aesthetic appeal and functionality of any space. Whether you’re renovating a single room or updating your entire home, tile flooring is a versatile and timeless choice that will stand the test of time.
